
Image input/output operations#
A set of functions to read, write, and display images represented as NumPy arrays.
Low-level image reading from files, URLs, and byte buffers.
- convert(image: ndarray, mono: bool = False, gray: bool = False, grey: bool = False, rgb: bool = True, dtype: str | type | None = None, gamma: float | str | None = None, alpha: bool = False, reduce: int | None = None, roi: tuple[int, int, int, int] | list[int] | None = None, maxintval: int | None = None, copy: bool = False) ndarray[source][source]#
Convert image
- Parameters:
image (ndarray(H,W), ndarray(H,W,P)) – input image in BGR or BGRA order, as read by OpenCV
mono (bool, optional) – convert to grey scale, synonym for
greygrey (bool or 'ITU601' [default] or 'ITU709') – convert to grey scale, default False
gray – synonym for
greydtype (str) – a NumPy dtype string such as
"uint8","int16","float32"or a NumPy type likenp.uint8. The short-name aliases'int','float','double','half'are also accepted and resolve to the Toolbox’s own defaults (uint8,float32,float64,float16respectively) – this matters because NumPy’s ownnp.dtype('float')resolves tofloat64, notfloat32. SeeDTYPE_ALIASES.rgb (bool, optional) – force color image to RGB order, otherwise BGR
gamma (float or str) – gamma decoding, either the exponent of “sRGB”
alpha (bool) – allow alpha plane, default False
reduce (int) – subsample image by this amount in u- and v-dimensions
roi (array_like(4)) – region of interest: [umin, umax, vmin, vmax]
maxintval (int) – maximum integer value to be used for scaling
copy (bool) – guarantee that returned image is a copy of the input image, defaults to False
- Returns:
converted image
- Return type:
ndarray(H,W) or ndarray(H,W,N)
Perform common image conversion and transformations for NumPy images.
dtypecontrols the resulting pixel data type. If the image is a floating type the pixels are assumed to be in the range [0, 1] and are scaled into the range [0,maxintval]. Ifmaxintvalis not given it is taken as the maximum value ofdtype.Gamma decoding specified by
gammacan be applied to float or int type images.The
grey/grayoption converts a color image to greyscale and is ignored if the image is already greyscale. Note that this conversions requires knowledge of the color plane order specified bycolororder. The planes are inverted byinvertplanesbefore this step.Note
The returned array is always a C-contiguous array of pixels, which OpenCV (5.0 and later) requires for functions that draw into an image. A copy is made only if necessary, for example after
reduceorroi, which otherwise give a strided view of the input.
- idisp(im: ndarray, colororder: str = 'RGB', matplotlib: bool = True, block: bool | float | None = None, fps: float | None = None, fig: Any = None, ax: Any = None, reuse: bool = False, colormap: str | Any = None, ncolors: int | None = None, black: int | float = 0, darken: float | bool | None = None, powernorm: bool = False, gamma: float | None = None, vrange: tuple[float, float] | list[float] | None = None, badcolor: str | None = None, undercolor: str | None = None, overcolor: str | None = None, title: str | None = None, grid: bool = False, axes: bool = True, axlabels: tuple[str, str] | list[str] = ('u (pixels)', 'v (pixels)'), gui: bool = True, frame: bool = True, plain: bool = False, colorbar: bool | dict[str, Any] = False, square: bool = True, width: float | None = None, height: float | None = None, flatten: bool = False, ynormal: bool = False, extent: tuple[float, float, float, float] | list[float] | None = None, coordformat: Callable[[float, float], str] | None = None, savefigname: str | None = None, **kwargs: Any) Any[source][source]#
Interactive image display tool
- Parameters:
im (ndarray(H,W), ndarray(H,W,3)) – image to display
colororder (str) – color order, defaults to “RGB”
matplotlib (bool, optional) – plot using Matplotlib (True) or OpenCV (False), defaults to True
block (bool, float, optional) – after display, Matplotlib blocks until window closed or for the specified time period, defaults to False
fps (float, optional) – frames per second, Matplotlib blocks for 1/fps seconds after display, defaults to None
fig (int, optional) – Matplotlib figure handle to display image on, defaults to new figure
ax (axis object, optional) – Matplotlib axis object to plot on, defaults to new axis
reuse (bool, optional) – plot into current figure, skips setup overhead, defaults to False
colormap (str or matplotlib.colors.Colormap) – colormap name or Matplotlib colormap object
ncolors (int, optional) – number of colors in colormap
black (int or float) – set black (zero) pixels to this value, default 0
darken (float, bool, optional) – darken the image by scaling pixel values by this amount, if
darkenis True then darken by 0.5powernorm (array_like(2), optional) – Matplotlib power-law normalization
gamma (float, optional) – gamma correction applied before display
vrange (array_like(2), optional) – minimum and maximum values for colormap, defaults to minimum and maximum values from image data.
badcolor (str, optional) – name of color to display when value is NaN
undercolor (str, optional) – name of color to display when value is less than colormap minimum
overcolor (str, optional) – name of color to display when value is less than colormap maximum
title (str, optional) – title of figure in figure window
grid – display grid lines over image, default False
axes (bool, optional) – display axes on the image, default True
gui (bool, optional) – display GUI/interactive buttons, default True
frame (bool, optional) – display frame around the image, default True
plain (bool, optional) – don’t display axes, frame or GUI
colorbar (bool or dict, optional) – add colorbar to image, default False
axlabels (array_like(2), optional) – labels for axes, default “u (pixels)” and “v (pixels)”
width (float, optional) – figure width in millimetres, defaults to Matplotlib default
height (float, optional) – figure height in millimetres, defaults to Matplotlib default
square (bool, optional) – set aspect ratio so that pixels are square, default True
flatten (bool, optional) – flatten singleton dimensions before display, defaults to False
ynormal (bool, optional) – y-axis increases upward, default False
extent (array_like(4), optional) – extent of the image in user units [xmin, xmax, ymin, ymax]
coordformat (callable returning string) – format coordinates and pixel values for the figure window toolbar
savefigname (str, optional) – if not None, save figure as savefigname (default eps)
kwargs – additional options passed through to
matplotlib.pyplot.imshow.
- Returns:
Matplotlib figure handle and axes handle
- Return type:
figure handle, axes handle
Display a greyscale or color image interactively using OpenCV or Matplotlib (if
matplotlibis True, default).OpenCV
OpenCV is used to display the mage if
matplotlibis False. The display is provided by the “HighGUI” module, and is not interactive. Overlay graphics cannot be displayed, but thedraw_xxx()functions can be used to draw on the image prior to display.Example:
Most of the options apply to the Matplotlib case.
Matplotlib
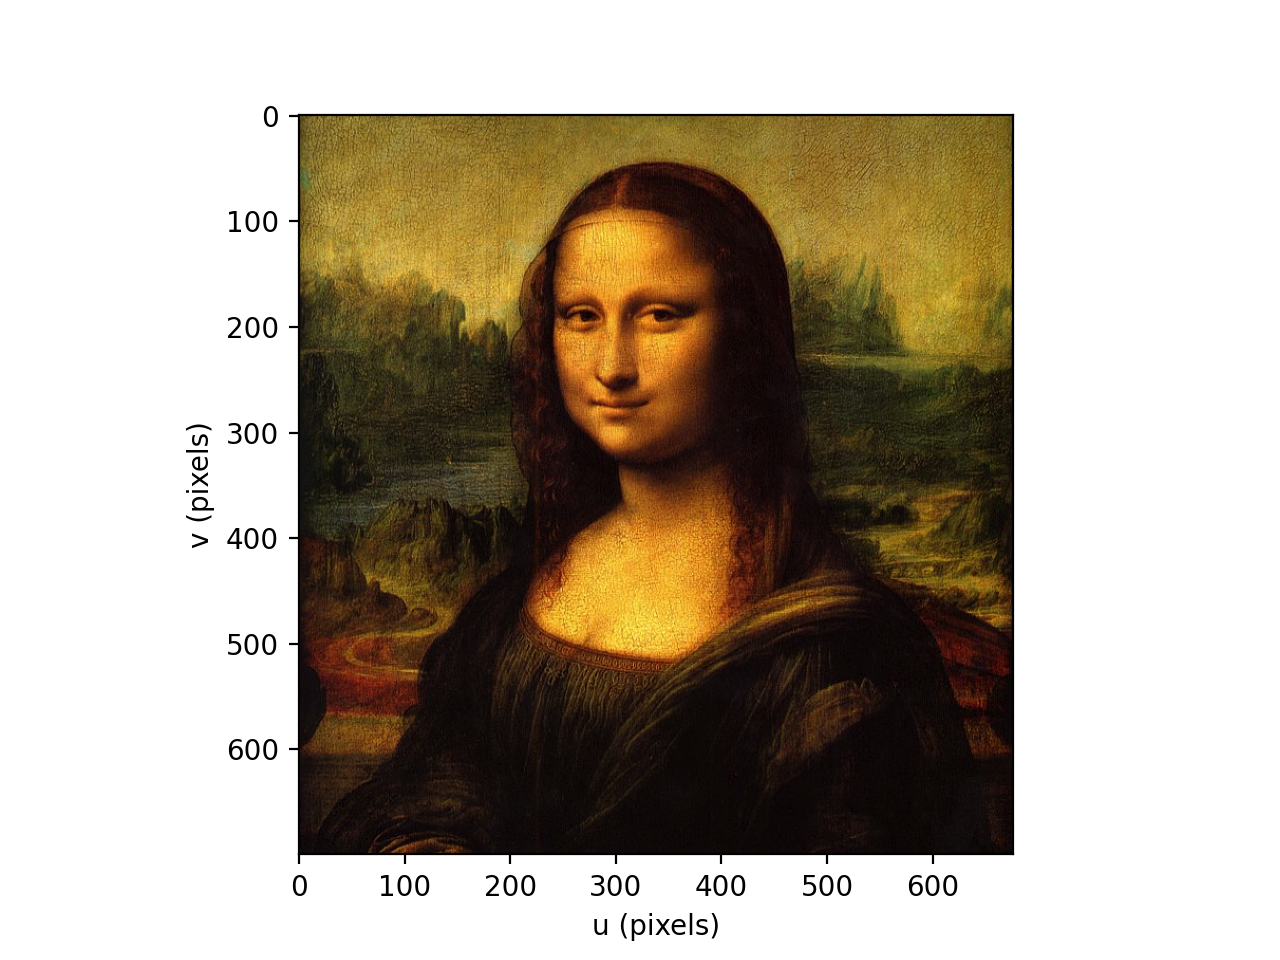
The Matplotlib display is interactive allowing zooming and pixel value picking. Other graphics can be superimposed on the image using the Matplotlib plotting functions
plot_xxx().Example:
(
Source code,png,hires.png,pdf)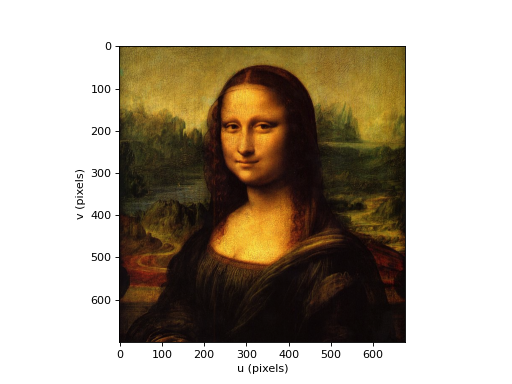
Color map
Greyscale images are displayed in indexed mode: the image pixel value is mapped through the color map to determine the display pixel value. The colormap is specified by a string or else a
Colormapsubclass object. Valid strings are any valid matplotlib colormap names orColormap
Meaning
grey
zero is black, maximum value is white
inverted
zero is white, maximum value is black
signed
negative is red, 0 is white, positive is blue
invsigned
negative is red, 0 is black, positive is blue
random
random values, useful for seeing fine details
Note
For grey scale images the minimum and maximum image values are mapped to the first and last element of the color map, which by default (‘grey’) is the range black to white. To set your own scaling between displayed grey level and pixel value use the
vrangeoption.Colorbar
Setting
colorbar=Trueadds a colorbar to the image, which is a key for interpreting the colors in the image.Alternatively, a dictionary of options can be passed to the colorbar function, eg.
colorbar={'ticks': range(10)}which is passed through to Matplotlib’scolorbarmethod. The optionxtickis not an actualcolorbaroption but it invokescolorbar.set_ticksto set custom tick labels for the colorbar. The value is a tuple of two lists, the first is the list of tick values, and the second is the list of tick labels. The lists must be the same length, and the tick values must be in the range of the color map.Blocking behaviour
The argument
blockhas the following functionsblockAction after display
False(default)Call
plt.show(block=False), don’t blockTrueCall
plt.show(block=True), blockNoneDon’t call
plt.show(), don’t block, in Jupyter subsequent plots will be addedt(numeric)Block for set time, calls
plt.pause(t). See alsofpsoption.The
coordformatfunction is called with (u, v) float coordinates and the image is in the variableimwhich is in scope, but not passed, and is an ndarray(H,W) or ndarray(H,W,P). The function should return a string which is displayed in the figure window toolbar when the mouse is over the image. This allows you to display pixel values in any format you want.Certain keys can be pressed while the image is displayed:
qwill close the window
If
pyclipis installed, the following clipboard keys are available:cwill copy the current pixel coordinates to the paste buffer as U,VCwill append the current pixel coordinates to the paste buffer, with a newline separatorvwill copy the current pixel coordinates to the paste buffer as U,V,XVwill append the current pixel coordinates and pixel value to the paste buffer as U,V,X, with a newline separatorxwill clear the paste buffer
Animation behaviour
Setting
fpsto a numeric value will cause the display to block for 1/fps seconds after each call toidisp, which allows for simple animations by callingidisprepeatedly in a loop. Note that by default a new figure is created each time, which is slow, so for animations you should setreuse=Trueto reuse the same figure and axes.Note
The displayed pixel value is a scalar (int or float), or a tuple of scalars for multiplane/color images.
The string never ends with a newline, newlines only separate values, eg. U1,V1nU2,V2
The clipboard keys require that
pyclipis installed.
- References:
- Seealso:
matplotlib.imshowcv2.imshow
- iread(filename: str | Path, *args: Any, **kwargs: Any) tuple[ndarray, str] | tuple[list[ndarray], list[str]][source][source]#
Read image from file or URL
- Parameters:
filename (str) – file name or URL
args (tuple) – reserved positional arguments
kwargs (dict) – key word arguments passed to
convert
- Returns:
image and filename
- Return type:
tuple (ndarray, str) or list of tuples, image is a 2D or 3D NumPy ndarray
Loads an image from a file or URL, and returns the image as a NumPy array, as well as the absolute path name.
If the path is not absolute it is first searched for relative to the current directory, and if not found, it is searched for in the
imagesfolder of the mvtb-data package.If
fileis a list or contains a wildcard, the result will be a list of(image, path)tuples. They will be sorted by path.The image can by greyscale or color in any of the wide range of formats supported by the OpenCV
imreadfunction. Extra options can be passed to perform datatype conversion, color to grey scale conversion, gamma correction, image decimation or region of interest windowing. Details are given atconvert.Example:
>>> from machinevisiontoolbox import iread
>>> im, file = iread('flowers1.png')
>>> im.shape
(426, 640, 3)
>>> file[27:]
'/3.12.15/x64/lib/python3.12/site-packages/mvtbdata/images/flowers1.png'
>>> imdata = iread('campus/*.png')
>>> len(imdata)
2
>>> imdata[0][0].shape
(426, 640, 3)
>>> imdata[1][0][27:]
'/3.12.15/x64/lib/python3.12/site-packages/mvtbdata/images/campus/P1070491.png'
Note
A greyscale image is returned as an \(H \times W\) array
A color image is returned as an \(H \times W \times P\) array, typically \(P=3\) for an RGB or BGR image or \(P=4\) if there is an alpha plane, eg. RGBA.
The returned array is a C-contiguous array of pixels, see
convert.For wildcards this is an “eager” function, all images are read and returned in a list. If you want to read images one at a time, use the lazy companion function
iread_iter.Wildcard lookup is done using pathlib
Path.glob()and supports recursive globbing with the**pattern, as well as the usual*,?and[abc]patterns, and includes hidden files (those starting with a dot) in the search results.For URL input, the image is read directly from the URL without saving to a local file. The URL must start with “http://” or “https://”. Wildcard patterns are not supported for URLs.
- References:
- Seealso:
- iread_iter(filename: str | Path, *args: Any, **kwargs: Any) Iterator[tuple[ndarray, str]][source][source]#
Lazily read image(s) from local files.
- Parameters:
filename (str or Path) – file name or wildcard path
args (tuple) – reserved positional arguments
kwargs (dict) – key word arguments passed to
convert
- Returns:
iterator yielding
(image, path)tuples- Return type:
iterator of tuple(ndarray, str)
This function is the lazy companion to
ireadfor local file input, and is useful when a wildcard matches many files. Images are decoded one-at-a-time as the iterator is consumed.For wildcard patterns, file paths are sorted before iteration to preserve deterministic order compatible with
iread.Note
Each returned image is a C-contiguous array of pixels, see
convert.Wildcard lookup is done using pathlib
Path.glob()and supports recursive globbing with the**pattern, as well as the usual*,?and[abc]patterns. Hidden files (those starting with a dot) are included in the search results.
- Seealso:
- iwrite(im: ndarray, filename: str, colororder: str = 'RGB', **kwargs: Any) bool[source][source]#
Write NumPy array to an image file
- Parameters:
im (ndarray(H,W), ndarray(H,W,P)) – image to write
filename (string) – filename to write to
colororder (str) – color order, defaults to “RGB”
kwargs – additional arguments, see ImwriteFlags
- Returns:
successful write
- Return type:
bool
Writes the image
imtofilenameusing cv2.imwrite(), passing any keyword arguments as options. The file type is taken from the extension infilename.Example:
from machinevisiontoolbox import iwrite import numpy as np image =
np.zeros((20,20))  # 20x20 black image iwrite(image, "black.png")
Note
supports 8-bit greyscale and color images
supports uint16 for PNG, JPEG 2000, and TIFF formats
supports float32
supports alpha channel for PNG and TIFF formats
color image planes, with planes specified by
colororder, are reordered to OpenCV order: BGR or BGRA. For example, ifcolororderis “GRBA”, the planes are reordered to “BGRA” for writing. Ifcolororderis “BGR” or “BGRA”, no reordering is done.
- Seealso:
- pickpoints(self: Any, n: int | None = None, matplotlib: bool = True) ndarray | None[source][source]#
Pick points on image
- Parameters:
n (int, optional) – number of points to input, defaults to infinite number
matplotlib (bool, optional) – plot using Matplotlib (True) or OpenCV (False), defaults to True
- Returns:
Picked points, one per column
- Return type:
ndarray(2,n)
Allow the user to select points on the displayed image.
For Matplotlib, a marker is displayed at each point selected with a left-click. Points can be removed by a right-click, like an undo function. middle-click or Enter-key will terminate the entry process. If
nis given, the entry process terminates afternpoints are entered, but can terminated prematurely as above.Note
Picked coordinates have floating point values.
- Seealso:
- safe_plt_show(block: bool | None = False) None[source][source]#
Call
matplotlib.pyplot.showwhile ignoring benign headless warnings.In documentation builds and other headless contexts Matplotlib can use a non-interactive canvas such as Agg. Calling
plt.show()there emits a user warning of the formFigureCanvas... is non-interactive, and thus cannot be shown. That warning is harmless for MVTB because the figure has already been rendered; it only becomes a problem when tooling promotes warnings to errors.- Parameters:
block (bool or None) – Matplotlib blocking flag; if
Nonethenshow()is not called